 An example from a CompareMySolar customer: Around 4 months ago, we made enquiries about ‘Going Green’ and installing some Solar Panels on the roof of our home to generate electricity. After some disastrous, and I mean disastrous encounters with organisations that will sell you the complete package but the knowledge of the salesman I did manage to find the right installer!
I found an organisation called ‘The Energy Savings Trust’ who provide free of charge extremely helpful information and assistance, so after a conversation and help from them I decided to go down the route of 3 basic steps:
1) A Solar Panel ‘Kit’.
2) A Certified Installer to install the ‘Kit’
3) A Scaffold Company
Having decided on 16 x 200 Watt Solar Panels from the Solar Panel Kit supplier and agreed a date for delivery of 14th February 2011, (St Valentine’s Day).
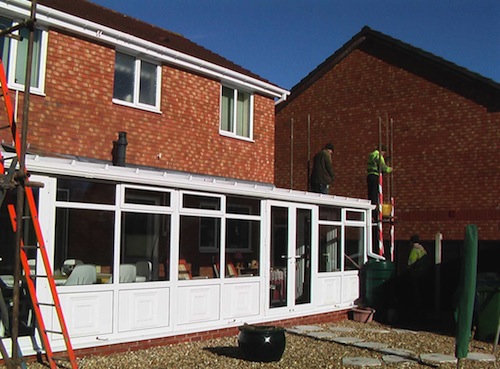
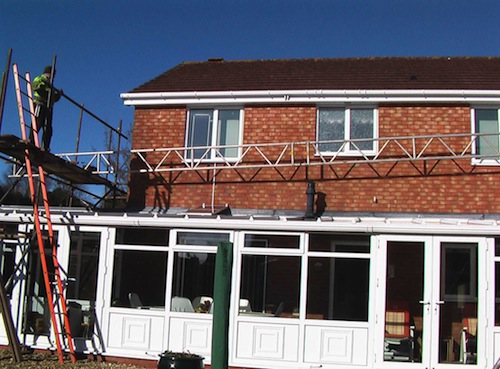
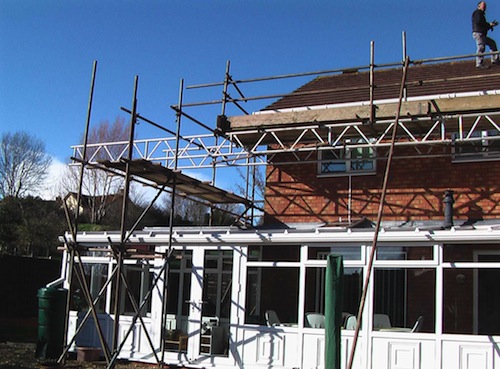
The next job was to identify a Certified Installer and try to get the next day for the Installation to commence, namely 15th February, but also to identify and get a Scaffolder to erect suitable scaffolding that would go right along the rear of the house, as there is a rather large conservatory to consider!
We had a slight change of delivery date for the Solar Panel Kit that arrived on 11th February as I asked if it could be brought forward to help them me out as it meant that we would not block the road with Trucks & Lorries offloading various items for the job! Luck was also with me on the other requirements as I got the Scaffolder & Certified Installer who both turned up on 14th February.
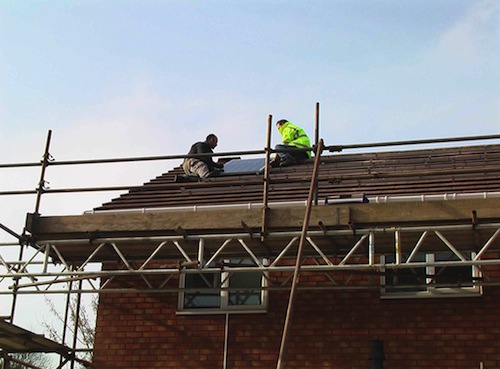
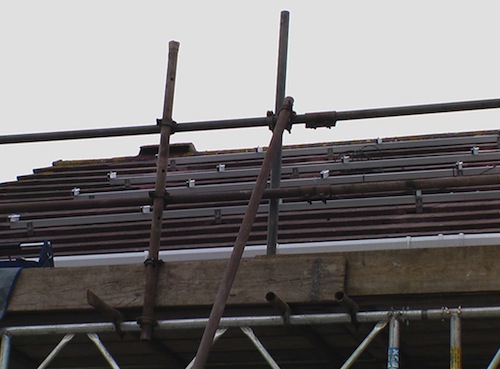
The Scaffolder, who arrived at 07:30 as we just fell out of bed, commenced erecting the ‘Scaffolding Framework’. His Gang of 4 were followed at around 09:30 by the Certified Installer who wanted to check all the parts, along with some preliminary work on the electrical connections.
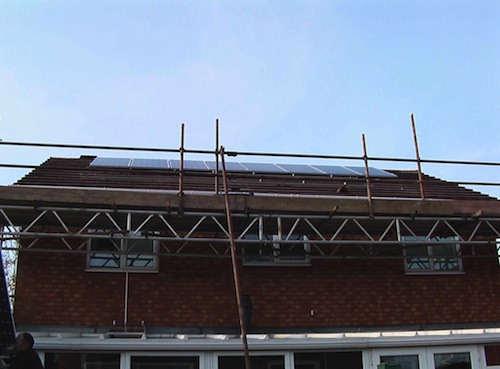
Within 2 hours the scaffolding was really taking shape:

5 Hours later the scaffolding was ready for ‘handover’ to the Certified Installer!
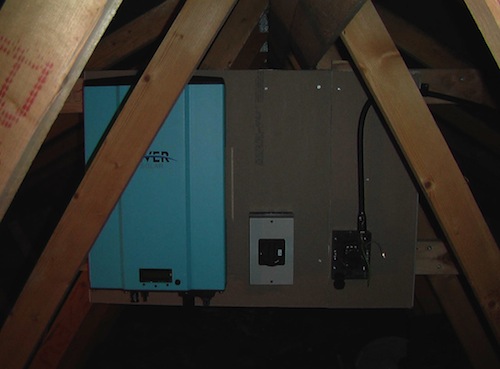
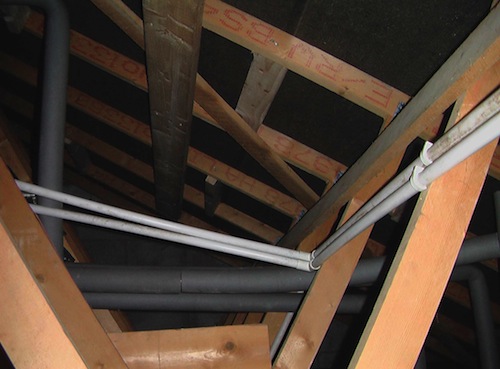
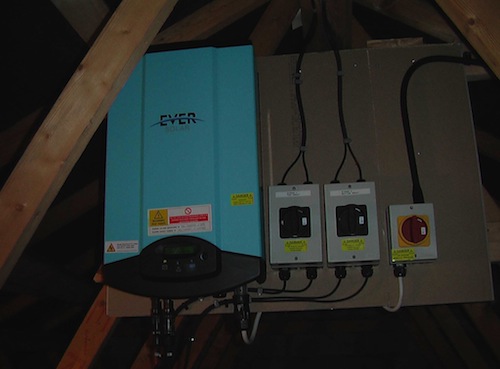
The first job of the Installer was to determine where the 3.2Kw Inverter was to be fitted. This is the Electronic Device that converts the ‘DC’ electricity from the Solar Panels into ‘AC’ electricity that you use in the house, and while the Inverter was quite a heavy item it needed to be fitted up in the roof of the house, so a framework was made on the roof trusses with a large piece of plywood fastened to the framework, and then a piece of plasterboard was fastened to the plywood for insulation.
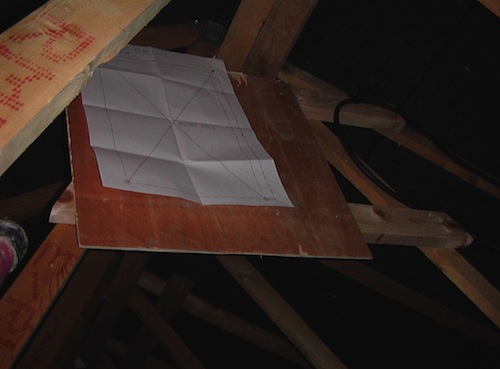
The horizontal pieces of wood were fitted to hold the large piece of plywood with the template for the Inverter held in place with a couple of small nails. Next picture showsthe Inverter mounted on the piece of Plasterboard which in turn was fixed to the Plywood and horizontal wooden bars. It also shows the Armoured Cable (Black) that takes the AC electricity from the Inverter to something called the ‘Generation Meter’ that records all the electricity that the Solar Panels have ‘produced’ and is fitted at the other end of the cable in the Garage where it is easy to read!
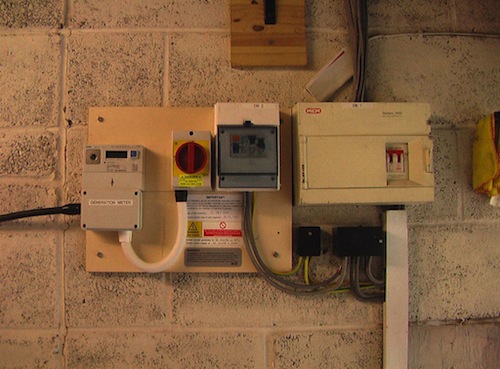
The next job was to fit the Generation Meter, Fuse Box and AC Cut off Switch on a small wooden board next to the House Fuse Box, and here it is:
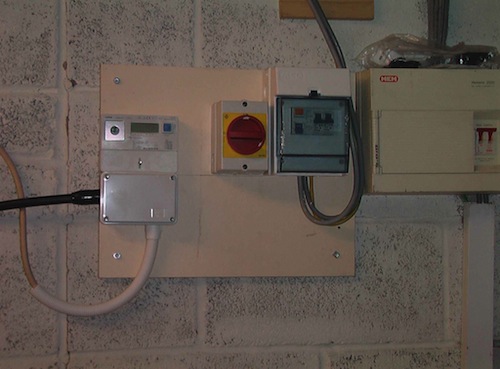
You can see the other end of the Armoured Cable going into the Junction Box below the Generation Meter. The ‘Red’ Switch is the AC Isolator.
Next picture is of the roof trusses before the wooden strengthening bars were fitted.
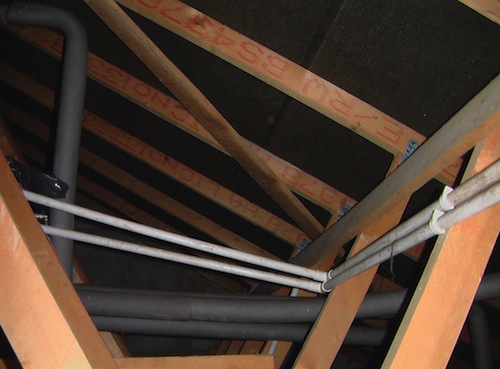
In the next picture you can see 2 short pieces between the roof trusses and a long piece of wood that is screwed to all the trusses to improve strength.
Next job was to start fitting the ‘Roof Anchors’ that fit under the roof tiles & are then held in place with 5 Stainless Steel Wood Screws that are screwed into the roof trusses and wooden reinforcing bars that you saw in the previous picture!
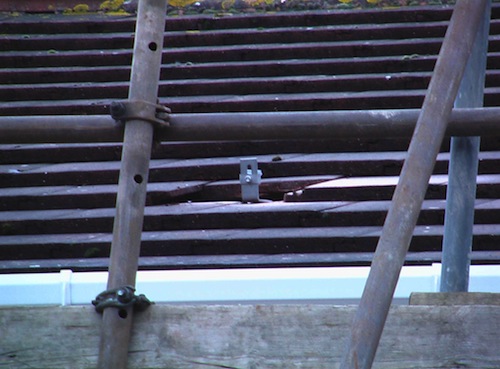
The ‘Roof Anchors’ are the main component that holds the ‘Mounting Rails’ and ‘Solar Panels’ in place on the roof so their strength and fixing to the roof is of paramount importance, especially as they are expected to remain in place for over 25 YEARS!
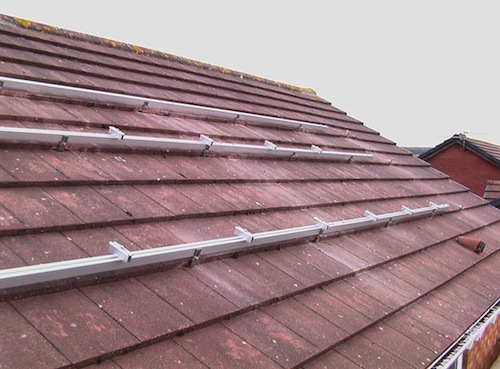
Having got all the Roof Anchors in place to hold the 4 Mounting Rails and 16 Solar Panels, it was time to fit the Mounting Rails with some of the End & Mid Clamps that would then clamp the Solar Panels to the Mounting Rails.
The next pictures show the first 3 of 4 Mounting Rails in place and then the 4 Rails with the End & Mid Clamps for the Solar Panels.
Now comes the ‘Fun Bit’ as you will see that the Solar Panels are quite BIG!
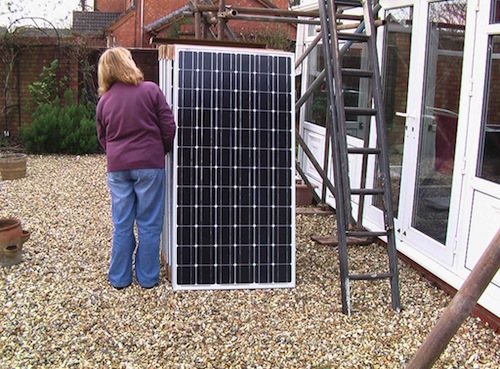
So each of 16 panels had to be lifted up to the top of the scaffolding by hand and then onto firstly the top 2 Mounting Rails for installation! Here goes the first!
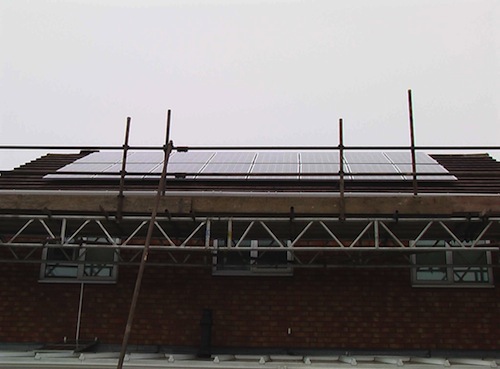
2 Hours later we had the first row of 8 in place and wired up, you can just see the 9th panel going up in the bottom left hand corner!
By the end of the day all 16 were in place!
Then we saw the Certified Installer completing all the electrical connections with what felt like for him ‘1001 Tests, Safety Checks & Labelling’ before it was pronounced OK to GO!
You might just see the Green ‘Spot’ on the ‘Darth Vader’ Black cover on the bottom of the Inverter that means its working! Unfortunately it has been quite cloudy today so the system has not been generating any ‘Power’, but has managed to ‘Fire Up’ and show us that when the English Sunshine comes it will be ready and waiting, and that could be a few days off as the current weather forecast is 5 days of RAIN!
The next picture is of the finished set up at the point that any Energy is fed into the National Grid. On the left hand side is the ‘Generation Meter’ with the small screen that tells you how much electricity you have ‘produced’, next to that with the BIG red ‘thingy’ is the Isolator Switch, and next to that is the Solar System Fuse Box with all the required ‘Safety Labels’ in Red Yellow and Black!
The technical assistance and installation provided by the Certified Installer and his partner was excellent, and hopefully we should see some good results when the Sun starts shining!
Job Done!
Note: the following represents the personal experience of installing solar panels captured in a blog posting by a customer of one of our installers. While normally the installer would provide panels, scaffolding and installation in one fixed price, that was not the case here. It does however provide a nice visual example of a solar installation. Regards, CompareMySolar UK